This recipe has all my favorites:
1) I love Thanksgiving.
2) I love pumpkin.
3) I love recipes that leave out potentially harmful foods like gluten, dairy, sugar, and eggs with ZERO sacrifice when it comes to flavor or texture.
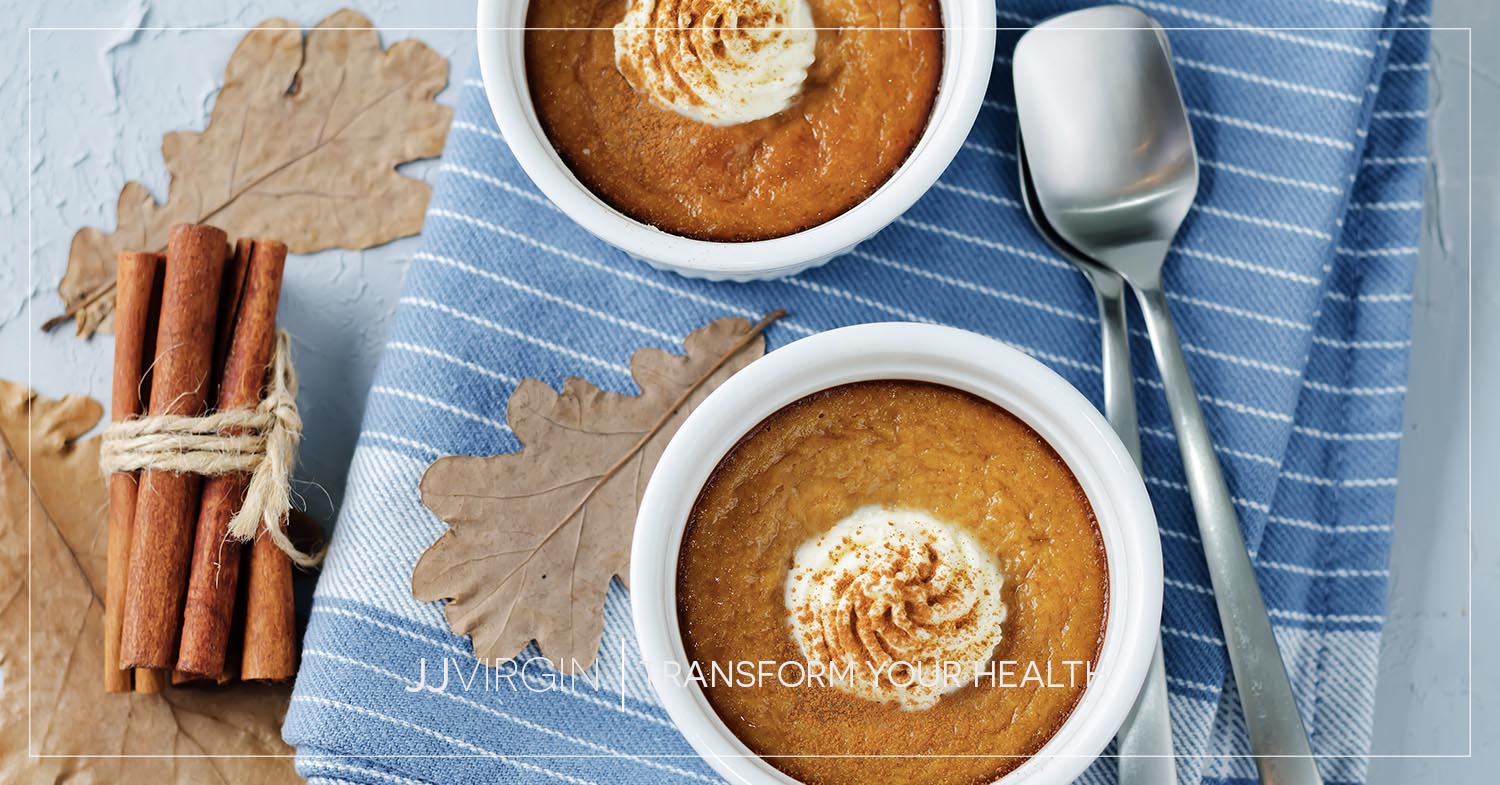
Check, check, and check! This crustless pumpkin pie is a perfect example of a swap so scrumptious, you’ll prefer it over the old, unhealthy version.
One of the keys to this recipe is to trade a traditional crust for a bit of brown rice flour. The result is a dreamy texture that has the smooth, creaminess of traditional pumpkin pie filling and the light chewiness of pumpkin bread. SO good!
Not only does losing the crust eliminate inflammatory gluten and empty calories, it also means this pumpkin pie comes together in a fraction of the time. (Still not sure why leaving out the gluten is a good thing? Check out this blog!)
Next, we trade eggs for ground flaxseed. (Freshly ground is best to preserve the nutritional content.) The flaxseed provides healthy fats and protein that bind the ingredients together in the same way eggs do a traditional pumpkin pie filling.
Of course, no eggs also means no chance of the painful cramps, bloating, fatigue, and other symptoms of egg intolerance! Instead, you get healthy omega-3s from a certified superfood, and the texture is just as rich and custard-like.
Our final shift is away from sugar and evaporated milk to coconut milk and a low-sugar impact sweetener like stevia or monk fruit extract.
Between dairy and sugar, you’ve got a duo guaranteed to increase your chances of painful inflammation and weight gain. In contrast, the coconut milk and coconut oil in this recipe offer multiple health benefits instead. And you’ll still get sweetness without the impact on your insulin levels!
I recommend two teaspoons of sweetener in this recipe, but every brand and palate is different. The goal is to achieve the sweetness of about 1/2 cup of traditional sugar, so read your labels and sweeten until it tastes right to you. (The great news is that, since this recipe is egg-free, you can taste the raw batter without any issue!)
I can’t wait for you taste these adorable little pumpkin pies! I made them single-serving size because it works well with a crowd, helps with portion control, and it’s so darn cute.
However, you can also make one large pie in a traditional glass pie dish. In that case, you’ll need to extend your bake time by about 5-10 minutes. As the recipe mentions, you can eat it warm, or cover, chill, and serve cold.
You can top your pie with whipped coconut cream or yummy Vanilla Pro-Whip Dairy-Free Whipped Cream. However, I loved mine with nothing but a spoon…
This recipe is just one more thing to be thankful for this holiday season. Enjoy!
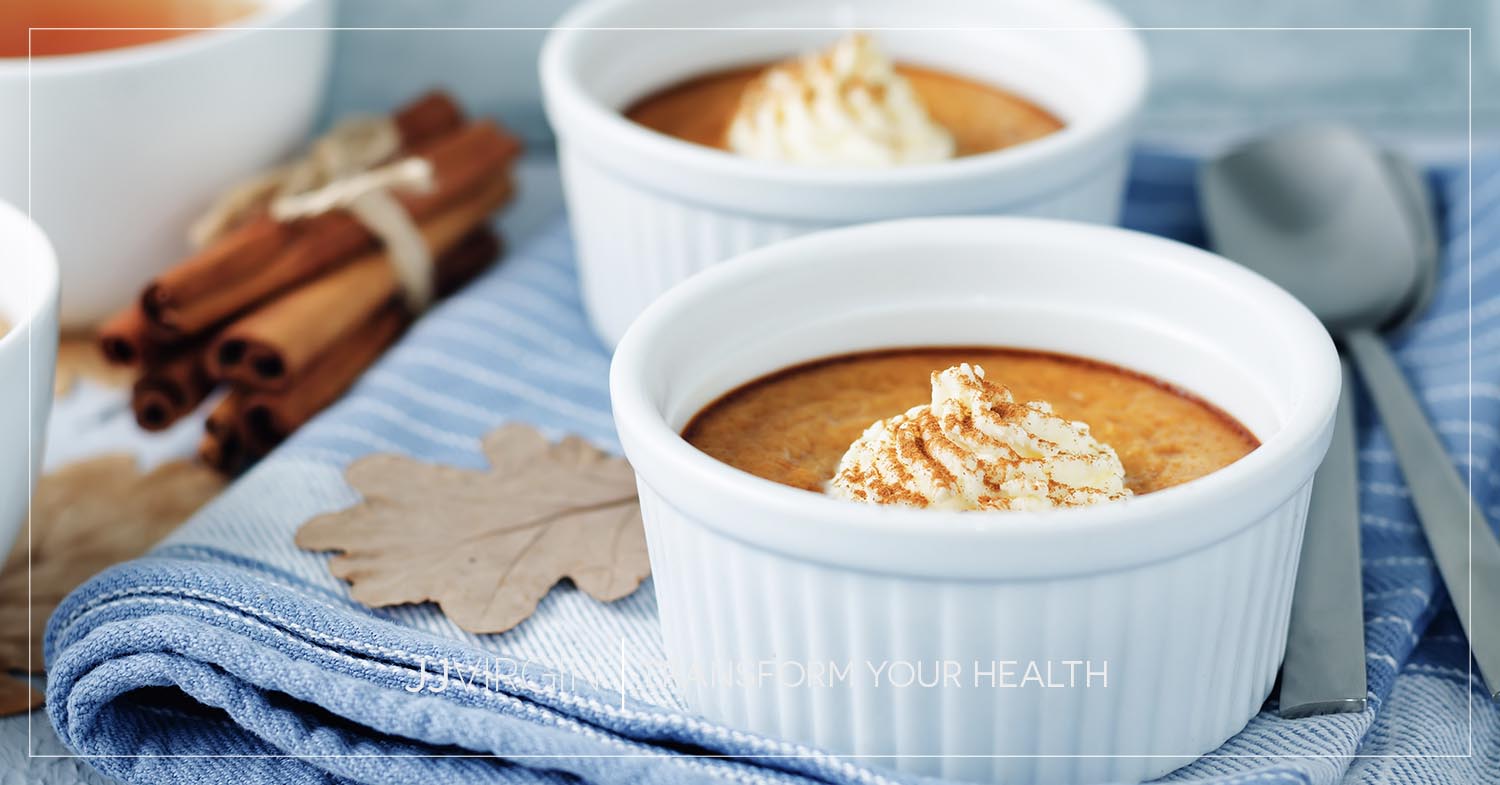

Easy Gluten-Free Crustless Pumpkin Pie
November 15, 2018
Virgin Diet compliant: Cycles 1, 2, and 3
Sugar Impact Diet compliant: Cycles 1 and 3
This easy crustless pumpkin pie is gluten-free, egg-free, dairy-free, and scrumptious! Make a double batch if you want any leftovers of this healthy take on a Thanksgiving classic...
- Prep: 10 mins
- Cook: 25 mins
- Yields: 8 Servings
Ingredients
15 oz. can organic packed pumpkin puree (NOT pumpkin pie filling)
1 cup full-fat unsweetened canned coconut milk (called “coconut cream” when sold in cartons)
2 tbsp coconut oil, melted (plus more for ramekins)
2 tsp stevia or monk fruit extract (or more, to taste)
Directions
1Preheat oven to 375F.
2Wipe down bottoms and sides of eight 6-oz. ramekins with coconut oil. (You can also use 8-oz. glass custard dishes.)
3In a medium mixing bowl, whisk together the pumpkin puree, coconut milk, coconut oil, and vanilla until well-mixed and fluffy, about 30-60 seconds.
4In a small mixing bowl, whisk together the rice flour, flaxseed, baking powder, salt, cinnamon, and pumpkin pie spice until thoroughly combined.
5Pour the dry ingredients into the pumpkin mixture and stir well.
6Divide the batter evenly into the eight prepared dishes, about a heaping 1/3 cup of batter in each.
7Smooth the tops with a silicone spatula, then place all 8 ramekins on a cookie sheet.
8Bake at 375F for about 25 minutes, until the tops of the mini pies are set and crackled.
9Remove from oven and let sit at room temperature for 15 minutes.
10Serve warm or refrigerate, covered, until chilled through before serving – both ways are delicious!
Want more delicious, nutritious recipes? Check out jjvirgin.com/recipes.
Nutrition Facts
Thanks so much for reading! You can get plenty more delicious, healthy recipes when you follow me on Pinterest…

